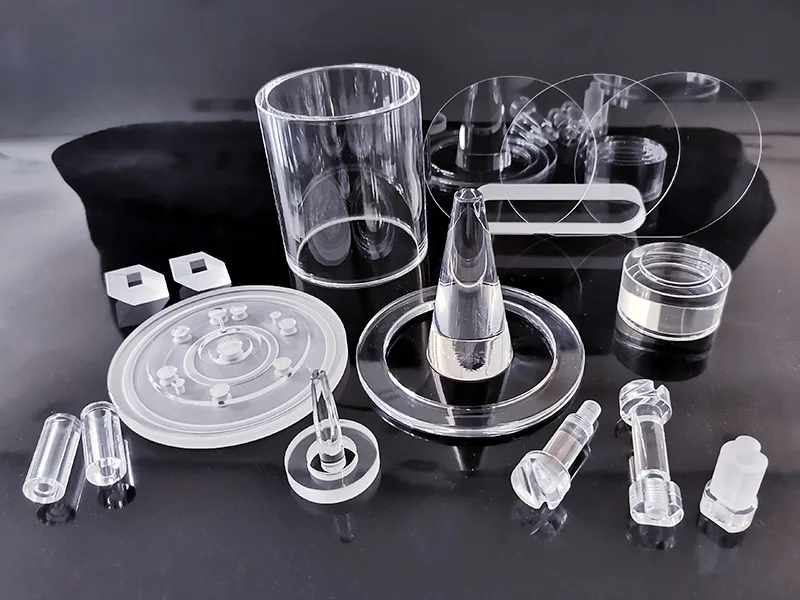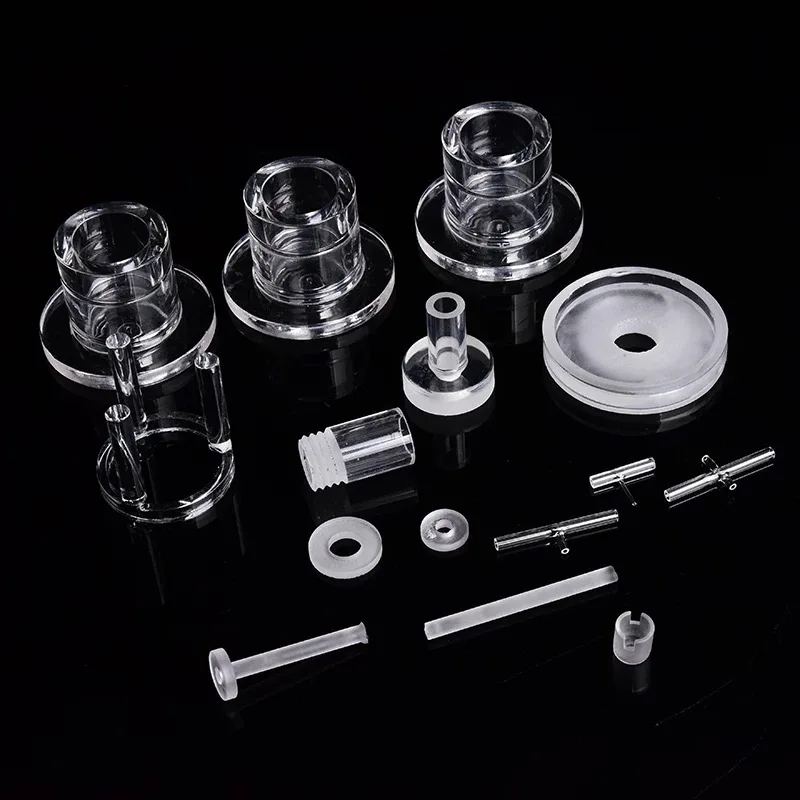
In the demanding world of high-tech manufacturing, Quartz Glass Custom Fabrication is the critical process that transforms a remarkable material into mission-critical components. Off-the-shelf solutions simply cannot meet the extreme tolerances and specific performance requirements of industries like semiconductor production, advanced optics, and aerospace.
This definitive guide, crafted by the engineering team at FGQuartz, delves into every aspect of custom quartz glass fabrication. It covers from deep material science to advanced precision machining techniques. We will explore how custom fabrication unlocks the full potential of quartz glass for specialized applications. This provides you with the knowledge to make informed decisions for your most challenging projects.
Chapter 1: The Foundation – Material Science of Quartz Glass
Understanding the inherent properties of quartz glass is the first step in designing a component for fabrication. It is not merely a variant of ordinary glass but a synthetic, amorphous solid formed by melting high-purity silica (SiO₂) at temperatures exceeding 2000°C.
Its non-crystalline, three-dimensional network structure is the source of its exceptional characteristics. These are fully leveraged through custom quartz manufacturing processes.
1.1 Core Properties and Their Scientific Basis
Extremely Low Coefficient of Thermal Expansion (CTE): Typically around 5.5 x 10⁻⁷ /K, this is orders of magnitude lower than borosilicate glass or metals. This property ensures minimal dimensional change under severe thermal cycling, making it ideal for maintaining stability in optical systems. It also serves as a precision reference.
The molecular origin lies in the strong, directional covalent Si-O bonds and the rigidity of the amorphous network.
Exceptional Optical Transmission: It offers high transmission from the deep ultraviolet (DUV, ~185 nm) to the near-infrared (NIR, ~2.5 μm) spectrum. Synthetic fused silica is critical for 193nm lithography stepper lenses due to its high DUV transmittance.
This broad-band transparency results from its wide bandgap (~8.9 eV) and extremely low concentration of impurity ions (e.g., OH⁻). This minimizes photon absorption and scattering.
Superior Chemical Purity and Resistance: It is inert to most acids, solvents, and alkalis (except hydrofluoric acid (HF) and hot phosphoric acid).
Its pristine surface does not outgas or introduce contaminants, making it perfect for sensitive semiconductor process chambers and chemical applications. High-purity grades have total metallic impurity levels below 1 ppm.
High Thermal Stability and Shock Resistance: With a softening point of ~1680°C, it can be used continuously at 1200°C.
The combination of low CTE and high strength grants it remarkable resistance to thermal shock. This allows it to withstand rapid quenches from high temperature, a necessity for CVD reactor parts and photovoltaic diffusion tubes.
1.2 Material Grades and Selection Methodology
Choosing the correct material is a critical engineering decision that balances performance, cost, and manufacturability for your custom glass component.
(Synthetic Fused Silica): Produced via chemical vapor deposition (CVD). It boasts the highest purity and a high OH⁻ content (150-200 ppm), which is optimal for deep UV transmission. Primary Applications: Microlithography lenses, excimer laser optics, UV light guides. It is the most expensive grade.
Doped Fused Silica: Incorporating elements like Titanium (Ti) or Cerium (Ce) enhances resistance to radiation darkening, crucial for components in space telescopes or nuclear environments.
Selection Advice: Base your choice on the primary wavelength, operating temperature, chemical environment, radiation exposure, and budget constraints. Early consultation with your custom fabrication partner’s materials engineers is highly recommended.
Chapter 2: The Art of Precision Manufacturing – Core Fabrication Techniques Explored
Custom Quartz Glass Fabrication is a multi-step process that employs both subtractive and additive techniques to convert raw material into functional components. The custom fabrication process for quartz glass requires specialized expertise and equipment.
2.1 Forming and Primary Machining: From Bulk to Blank
Hot Forming: For complex 3D shapes (e.g., intricate viewports), quartz can be heated to its viscous state and pressed into precision graphite molds. This creates a “near-net-shape” preform, drastically reducing subsequent machining time and material waste in the custom fabrication process.
Cutting and Slicing:
Diamond Wire Sawing: Utilizes a wire embedded with diamond abrasive particles moving at high speed. Advantages include a narrow kerf (minimal material loss), low induced stress, and a shallow damaged layer. Ideal for slicing large boules into wafers or thin plates for further custom machining.
Laser Cutting: Femtosecond or picosecond ultrafast lasers are preferred for processing thin or extremely brittle materials. Through a “cold ablation” process, they achieve micron-level precision with virtually no heat-affected zone (HAZ) or micro-cracks. Essential for medical microdevices and photonic chips made from custom quartz.
2.2 Precision Grinding: Defining Geometry and Dimensional Accuracy
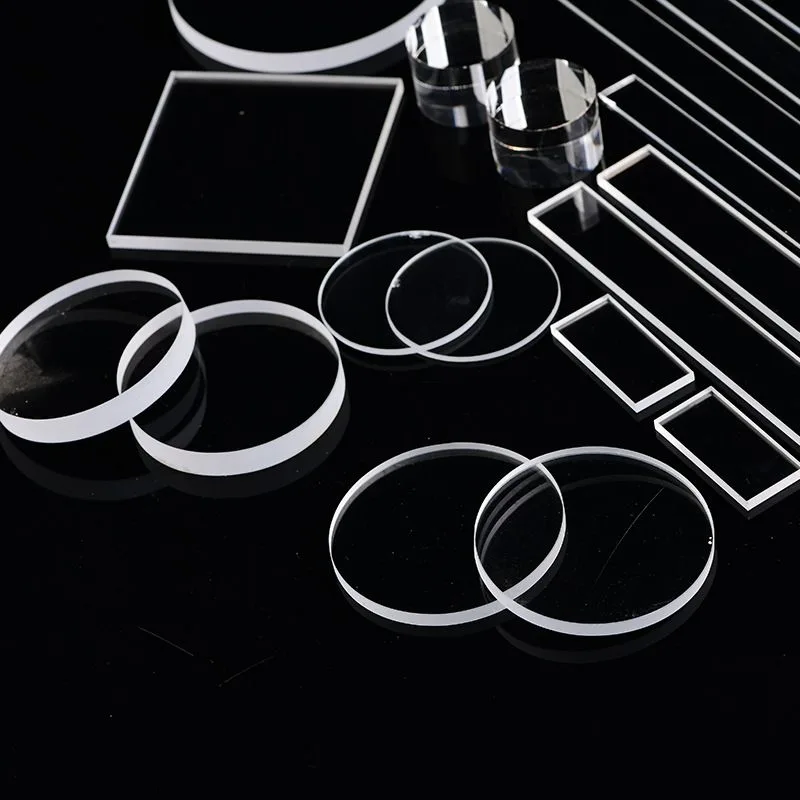
CNC Grinding: This is the cornerstone process for achieving tight tolerances and complex geometries in custom quartz glass parts. Using diamond-impregnated wheels, multi-axis (3-5 axis) CNC systems precisely control the grinding path, depth, and feed rate.
Capabilities: Producing flats, spheres, aspheres, cylinders, and freeform surfaces.
Tolerances: Dimensional accuracy to ±1 μm, surface figure accuracy (Peak-to-Valley) to <1 μm.
Applications: Manufacturing substrates for laser collimating lenses, F-Theta lenses, and optical prisms through precision custom fabrication.
2.3 Ultra-Precision Polishing: Achieving Optical Surfaces
Polishing removes the sub-surface damage layer from grinding and achieves nanometer-level surface smoothness, a critical step in high-end quartz glass custom fabrication.
Conventional Polishing: Uses pitch or polyurethane laps with cerium oxide (CeO₂) or colloidal silica slurries. Achieves surface roughness (Ra) < 5 Å through mechano-chemical action.
Chemical Mechanical Polishing (CMP): The gold standard for achieving super-smooth, damage-free surfaces on both sides of a wafer simultaneously. It combines chemical etching with mechanical abrasion. Critical for semiconductor photomasks and high-end optics, achieving surface roughness of Ra ≤ 0.2 nm.
2.4 Drilling, Milling, and Special Structure Machining
Ultrasonic Machining (USM): Employs a high-frequency oscillating toolhead that drives an abrasive slurry to erode the material. It is excellent for micro-holes, shaped holes, and deep blind holes with good wall quality and no thermal stress. This is a common requirement in custom quartz components.
Laser Micro-Machining: As noted, ultrafast lasers are unmatched for creating high-aspect-ratio microvias and complex micro-features with micron-scale accuracy in custom fabricated quartz glass.
2.5 Surface Functionalization: Thin-Film Coating
Coating is the final, critical step to tailor the optical performance of the component. This is often a key part of the custom fabrication service.
Magnetron Sputtering: In a vacuum chamber, a plasma is created to bombard a target material, “sputtering” its atoms onto the quartz substrate. It produces dense, highly adherent films. This method is used for metallic coatings (e.g., Cr/Au for electrodes) and some dielectric coatings.
E-beam Evaporation: An electron beam is used to vaporize coating materials, which then condense on the substrate. Ideal for depositing complex multi-layer optical coatings like Anti-Reflection (AR), High-Reflection (HR), and beam-splitter coatings. It offers precise control over each layer’s thickness (down to nanometers) to meet specific spectral requirements for custom optical quartz glass.
Chapter 3: The Science of Quality Assurance – Metrology and Inspection
Precision manufacturing is impossible without precision measurement. Every custom quartz glass component must be validated against its specifications using advanced metrology tools. A rigorous QA process is what separates a true custom fabrication partner from a simple machine shop.
Dimensional & Geometric Metrology: High-precision Coordinate Measuring Machines (CMM), laser micrometers.
Surface Figure Testing: Laser Interferometers (e.g., Zygo, 4D Technology) are used with reference optics to measure flatness, sphericity, and asphericity. This is done with accuracies up to λ/100 (λ=632.8nm).
Surface Roughness Measurement: White Light Interferometers (Optical Profilers) or Atomic Force Microscopes (AFM) characterize surface topography at the nanometric and angstrom levels.
Optical Performance Verification: UV-Vis-NIR Spectrophotometers measure transmission and reflection spectra. This ensures compliance with optical design specs.
Material & Defect Analysis: Fourier-Transform Infrared Spectroscopy (FTIR) measures OH⁻ content. Additionally, laser scattering instruments detect internal inclusions and bubbles.
A comprehensive Inspection Report or Certificate of Conformance (CoC), containing all critical metrology data, is the component’s passport. It is non-negotiable for building trust and ensuring performance in the field. This is a hallmark of professional quartz glass custom fabrication.
Chapter 4: Application Spectrum – From the Lab to Industrial Scale
Custom quartz glass components are enablers of modern technology across a vast landscape. The custom fabrication process is tailored to meet the unique demands of each sector.
Semiconductor Manufacturing: The most demanding application for custom quartz fabrication.
Lithography: The projection lens assembly in a DUV stepper comprises over a dozen large, aspheric synthetic fused silica lenses. Any flaw catastrophically impacts yield. EUV lithography tools also rely on specialized coated quartz mirrors.
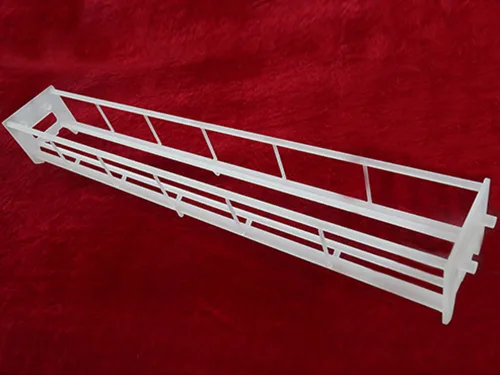
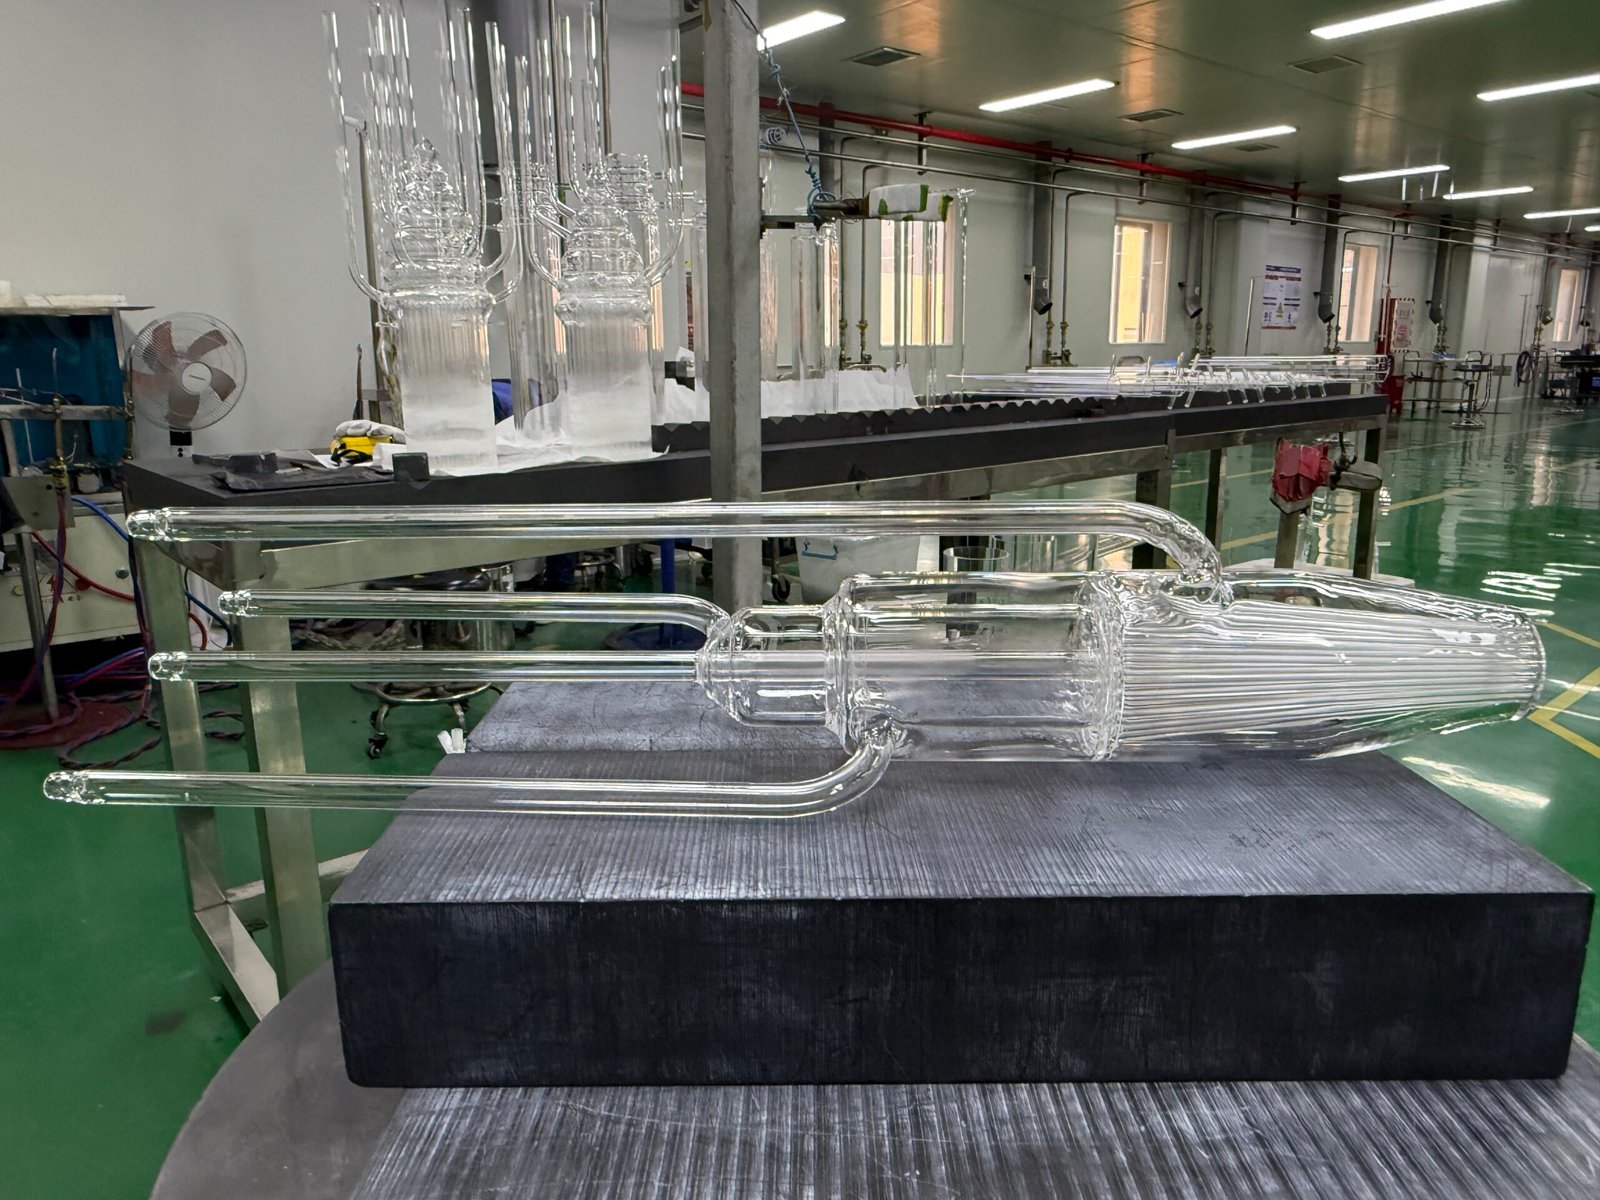
Process Chamber Components: Bell jars, gas distribution plates, wafer boats, and baffles in CVD, etch, and diffusion furnaces require ultimate purity, thermal resistance, and corrosion resistance. These prevent particle contamination.
Wafer Handling: Robot end-effectors require extreme flatness, cleanliness, and strength. This ensures that wafers can be handled at high speeds without damage.
Photonics & Optics:
High-Power Laser Systems: Mirrors, lenses, polarizers for industrial cutting/welding and scientific lasers (e.g., National Ignition Facility) are crucial. They must be made from low-absorption, high-laser-induced-damage-threshold (LIDT) quartz.
Astronomy & Space: The mirror substrates for large telescopes (e.g., Subaru, VLT) are often made from ultra-low expansion (ULE) fused silica. This maintains perfect figure under changing ambient conditions.
Life Sciences: Filters, substrates for microfluidic devices, and flow cell windows are critical in DNA sequencers and advanced microscopes.
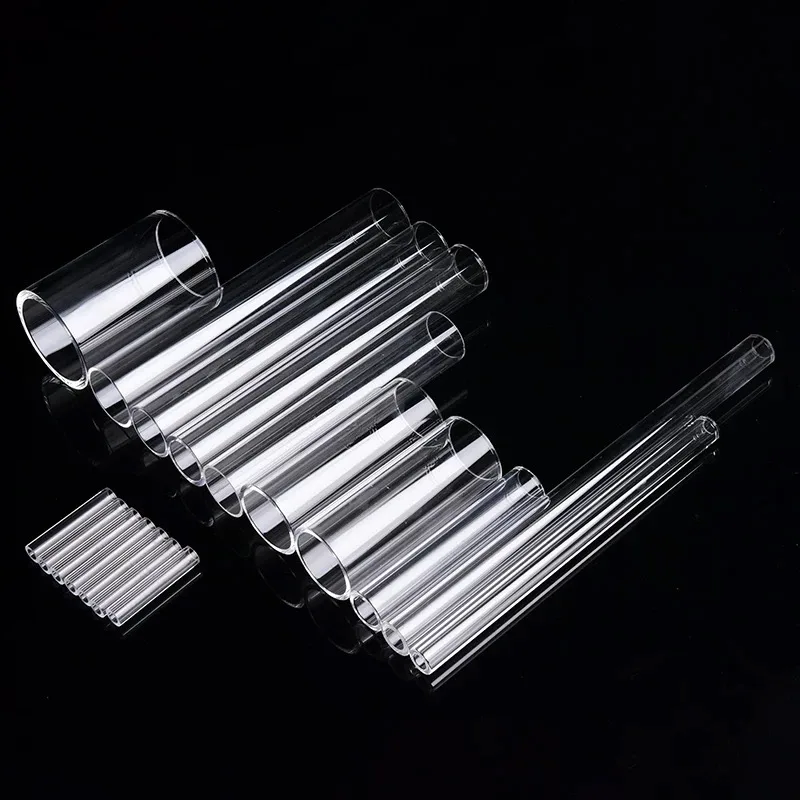
Telecommunications: Fiber optic preform deposition furnace tubes, ferrule sleeves for connectors, substrates, and lenses for Wave Division Multiplexers (WDM).
Energy: Process tubes and boats for photovoltaic diffusion and PECVD; concentrator mirrors for Concentrated Solar Power (CSP).
Aerospace & Defense: Viewports for rocket engines, gyroscope housings, and satellite telescope mirrors, where performance under extreme temperature, vacuum, and radiation is mandatory.
Chapter 5: The Strategic Partnership – A Guide to Selecting Your Fabricator
Choosing a quartz glass custom fabrication partner is a long-term strategic decision. Price is a single factor; a comprehensive evaluation is essential to find a supplier capable of true custom fabrication.
Engineering Support & DFM: Does the supplier have a dedicated engineering team capable of engaging in early-stage Design for Manufacturability (DFM)? They should proactively suggest design modifications to enhance performance. This helps to reduce cost and improve yield, not just accept prints. This is the core of a valuable custom fabrication partnership.
Technical Capabilities & Equipment: Do they possess state-of-the-art multi-axis CNC grinding centers, continuous polishers, coating chambers, and a full in-house metrology lab (interferometers, profilers, spectrometers)?
The equipment portfolio defines their capability ceiling for custom quartz work. Request a virtual or actual tour.
Quality Systems & Documentation: Are they ISO 9001 certified? Do they implement rigorous Statistical Process Control (SPC)? Can they provide detailed, traceable inspection reports (CoC) for every single part, not just a batch?
This discipline is critical for reliable custom fabrication.
Industry Experience & Reputation: Do they have proven experience and customer references in your specific industry (semiconductor, laser, etc.)? Request anonymized case studies or white papers. These should demonstrate their problem-solving abilities in quartz glass custom fabrication.
Supply Chain & Project Management: Is their raw material supply chain robust and audited? Do they have a transparent project management system to ensure on-time delivery and clear communication throughout the fabrication process?
Conclusion: Partnering for Precision
Quartz Glass Custom Fabrication is a sophisticated synergy of material science, precision engineering, and rigorous quality control. A successful project is founded on a deep, collaborative technical partnership between the customer and the fabricator.
From initial concept and material selection through process optimization and final validation, every step benefits from transparent communication and shared expertise. This collaborative approach is what defines world-class custom fabrication.
At FGQuartz, we have over a decade of experience as a solutions provider, not just a parts supplier.
Our integrated capabilities, from material processing to final coating and inspection, allow us to control quality at every stage. We solve our clients’ most complex challenges in quartz glass custom fabrication.
Your Next Step: If you are developing a component that demands the unique properties of quartz glass, contact our applications engineering team today.
Share your drawings, performance requirements, and operating environment. We will provide a confidential DFM analysis and a detailed technical proposal to help bring your most innovative designs to life through our custom fabrication services.
